Micro-Content from a Single Shoot: 50+ Pieces of Marketing Content
/If your school’s marketing team has ever said, “We don’t have enough content,” congratulations, you’re normal. Private schools move fast. Events are constant. Admissions season never really ends. And yet, somehow, you’re expected to feed your website, social media, email campaigns, print materials, ads, and maybe even a few unexpected “Can we get a photo for this?” requests… all at once.
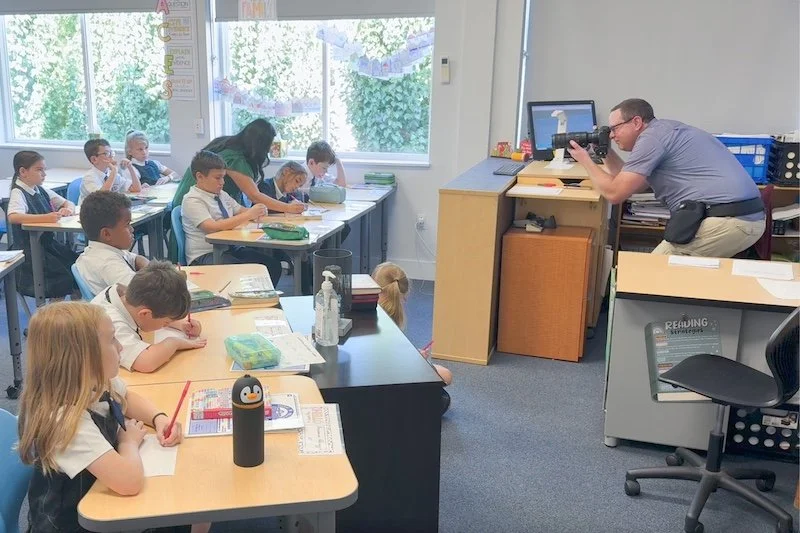
Here’s the good news: you don’t actually need more shoots. You just need to plan smarter so one well-executed campus shoot becomes a bottomless buffet of usable visuals. Yes, one day. Yes, 50+ pieces of content. No, I’m not joking.
Let’s break it down.

Step 1: Start with the Big Anchors
Before the shoot, identify your top priorities, the high-value pieces that will do the heavy lifting for your admissions and marketing efforts. Typically, this includes:
• An About video
• A handful of strong banner images
• A few core program highlights (STEM, arts, athletics, early childhood, etc.) • A mini bank of candid student-life photos
These are the polished, evergreen assets that will still look good in six months. The trick is planning them first, so your whole shoot supports your end goals.
Step 2: Line Up Your Micro-Moments
Once the main goals are covered, it’s time to collect the small stuff, the quick hits that will keep your social channels and newsletters from going stale.
Plan for:
• Short clips perfect for Facebook and Instagram Reels
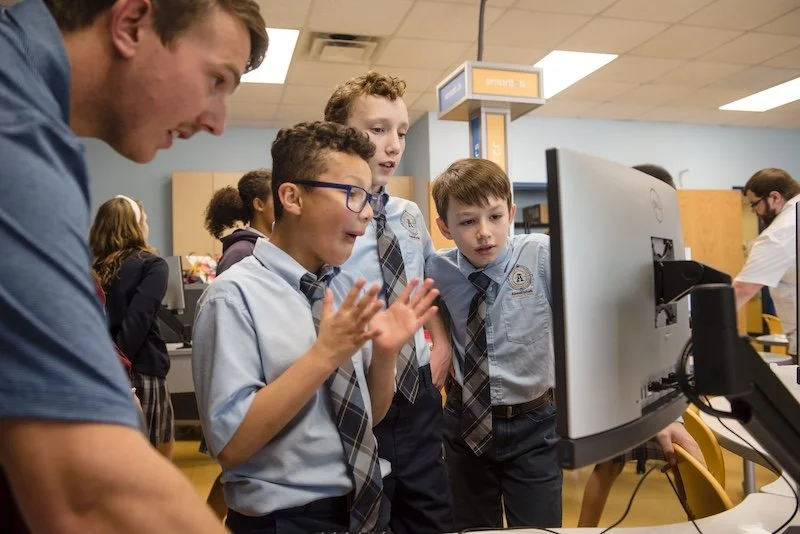
• Classroom moments with real expressions (not the “pretend you’re listening” faces)
• Quick teacher sound bites
• Hands-on activity close-ups
• Hallway transitions and outdoor interactions
• Campus beauty shots
• Branded objects or signage for subtle backgrounds
These micro-moments are gold. And they’re fast. If your schedule is tight, think in 10-second bursts instead of full scenes.
Step 3: Get Testimonial Clips While You’re There
Parent and student testimonials are marketing rocket fuel. And the easiest time to capture them is… yep, the same day.
Have two or three people ready:
• A standout student
• A parent who raves about your school
• A teacher who’s beloved on campus
Keep it simple: a short burst of questions, a few great answers. You’ll use these clips everywhere: social media, email, admissions presentations, donor spotlights.
Step 4: Build a Repurposing Workflow
The magic isn’t just in the shoot, it’s in the follow-through. Here’s a simple, repeatable workflow, some of which I normally do for you as part of my process:
1. Hero First: Edit the main video and banner images.
2. Cut Down: Make 15–20 micro-videos from your hero footage and B-roll.
3. Create Variations: Square crop, vertical crop, slow-motion versions, quotes, thumbnails.
4. Build a Library: Tag everything by category so your team can actually find it.
5. Schedule Strategically: Spread your assets over three to six months.
What You End Up With
From one well-planned campus day, you can walk away with:
• An About/overview video
• 3–5 website banners
• 10+ short-form videos
• 100+ stills
• Testimonials
• A refreshed content library
• And a whole lot less stress
One shoot. Fifty assets. Endless marketing potential.
If you want help planning a shoot like this, or actually producing it, let’s talk. Let’s make your next campus day work overtime.